When I posted the use of OpenCV in Processing, there were a number of queries about installing and building OpenCV in OSX. In this post, I try to summary the process. It assumes basic understandings of the Unix environment of the OSX system with the use of the Terminal command. Here are the steps.
You need to have a login password for your current account and it should be an administrator. The password is required for the sudo command in later step.
Open the Terminal command line interface from /Applications/Utilities folder.
Show the hidden files in your OSX system following the steps in this reference. You are going to check the files installed in the folders /usr/bin and /usr/local.
Install the cmake software. I use the Homebrew system to install it. You can refer the Homebrew website for the installation of the Homebrew system. It is just a line in the Terminal window:
ruby -e "$(curl -fsSL https://raw.github.com/mxcl/homebrew/go)"
It requires you to enter your login password. To install the cmake software, use the brew command in the Terminal window:
brew install cmake
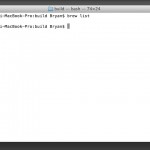
After the installation, you can use the brew list command to verify.
Download the Mac/Linux version of the OpenCV. The current one I am using is 2.4.6.1.
Unpack the file in your hard disk. The folder name is opencv-2.4.6.1.
In the Terminal window, use cd command to change the current directory to the opencv-2.4.6.1 folder.
Create a build folder and change current directory to it.
mkdir build
cd build
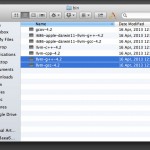
Verify that you have the gcc and g++ compilers in the /usr/bin folder.
They are actually two aliases that point to the correct compilers as shown in the next figure.
Now, we can use the interactive ccmake to configure the build options:
ccmake .. -DCMAKE_C_COMPILER=/usr/bin/gcc -DCMAKE_CXX_COMPILER=/usr/bin/g++
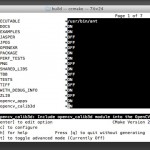
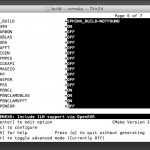
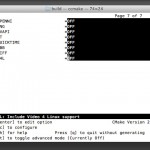
Type the ‘c’ key to enter the configuration process. I use minimal options to configure the build process as shown in the following screenshots.
Type the key ‘c’ again to validate all the options. After it is done, type the key ‘g’ to generate the files for building OpenCV.
In the Terminal window command line, enter make to start the building process. It may take some time.
make
When it is 100% done with success, proceed to the installation step by:
sudo make install
It will prompt for the password. The process will install the files into proper folders of the Unix system.
For the Java related files, they will be in the bin and lib sub-folders of the build folder. The opencv-246.jar file will be in the bin folder.
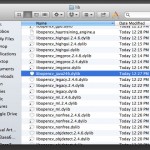
The libopencv_java246.dylib will be in the lib folder.
These two files:
- opencv-246.jar
- libopencv_java246.dylib
will be in the code folder of the Processing sketch to work.
