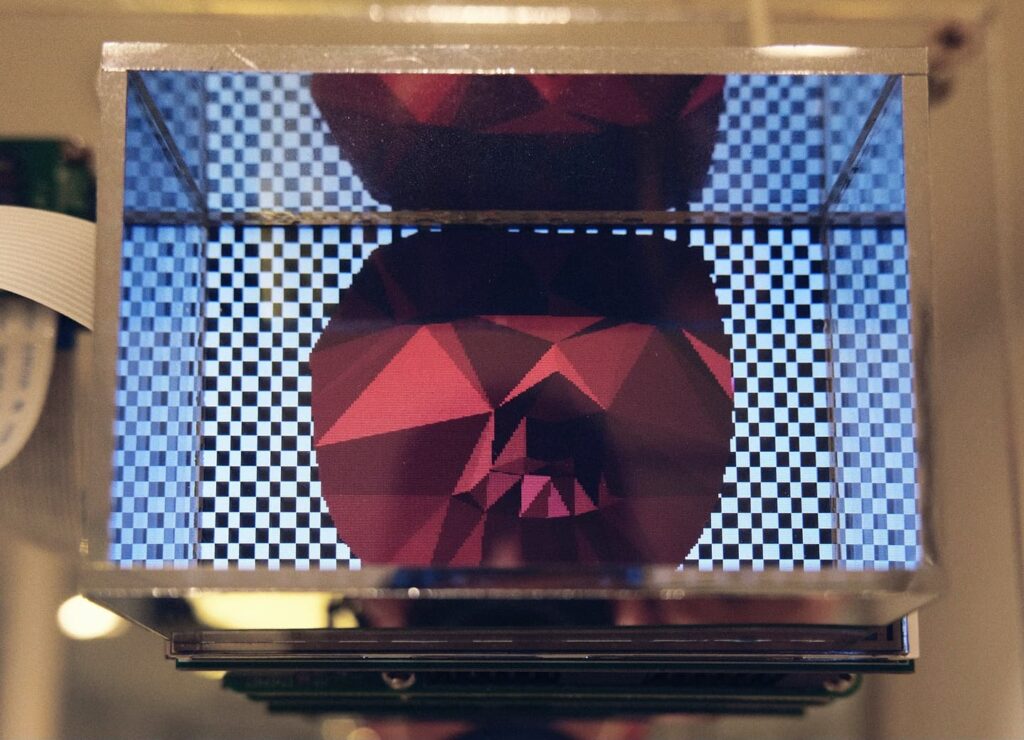
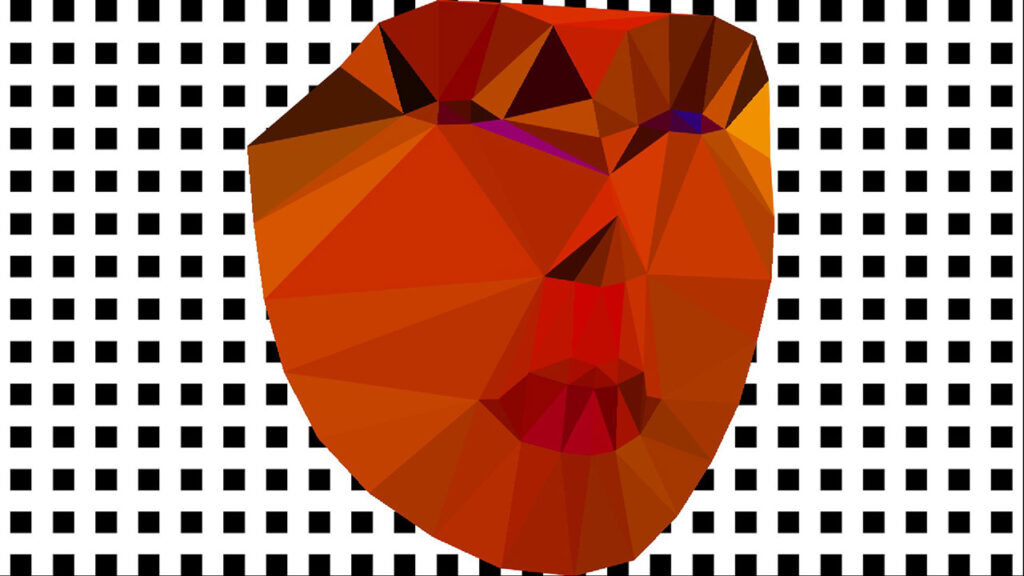
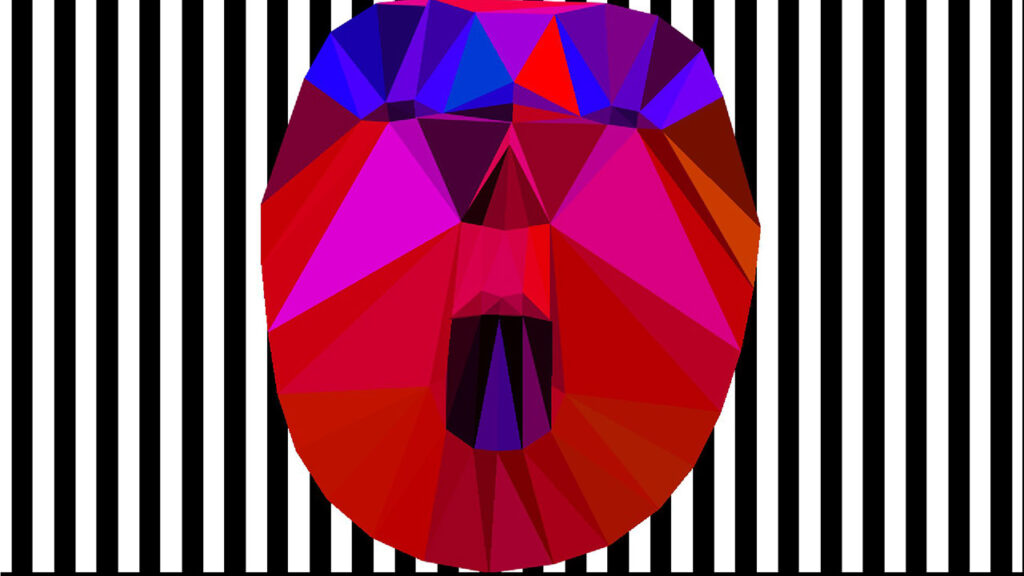
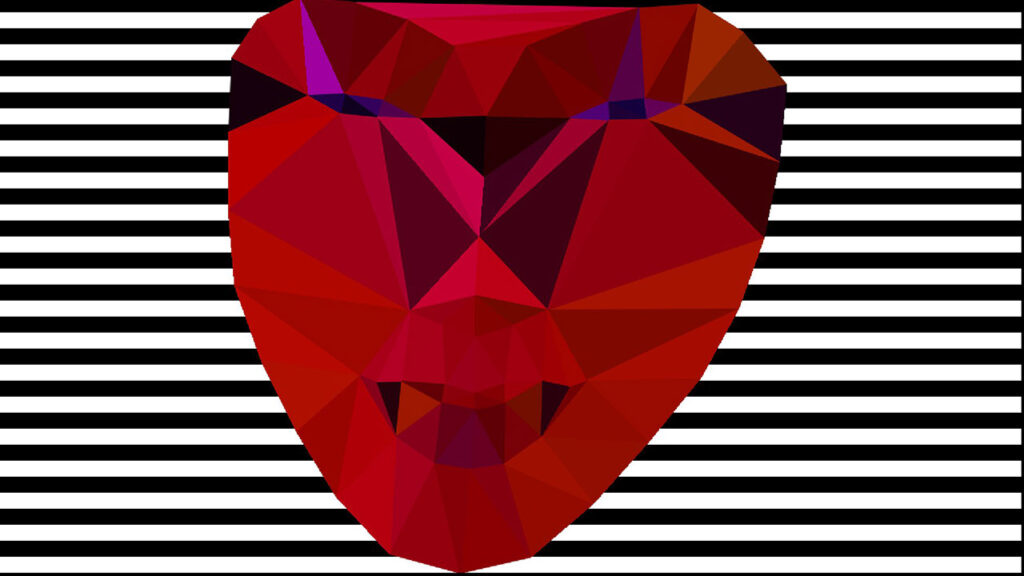
It is a site specific interactive installation created for the 2nd UNSCHEDULED Art Fair, Karin Weber Gallery. The artwork made use of the mirror of the former changing room of the Top Shop, Central. It performs a face detection to convert the visitor’s face into an animated figure, resembling the yesterday cyberspace creature trapped inside a mirror box. The exhibition period is from 02 to 06 September 2021 in the G/F, 1/F, Asia Standard Tower, 59-65 Queen’s Road, Central.
Face detection with Dlib in TouchDesigner
The example will continue to use a Script CHOP, Python and TouchDesigner for a face detection function. Instead of using the MediaPipe library, it will use the Dlib Python binding. It refers to the face detector example program from the Dlib distribution. Dlib is a popular C++ based programming toolkit for various applications. Its image processing library contains a number of face detection functions. Python binding is also available.
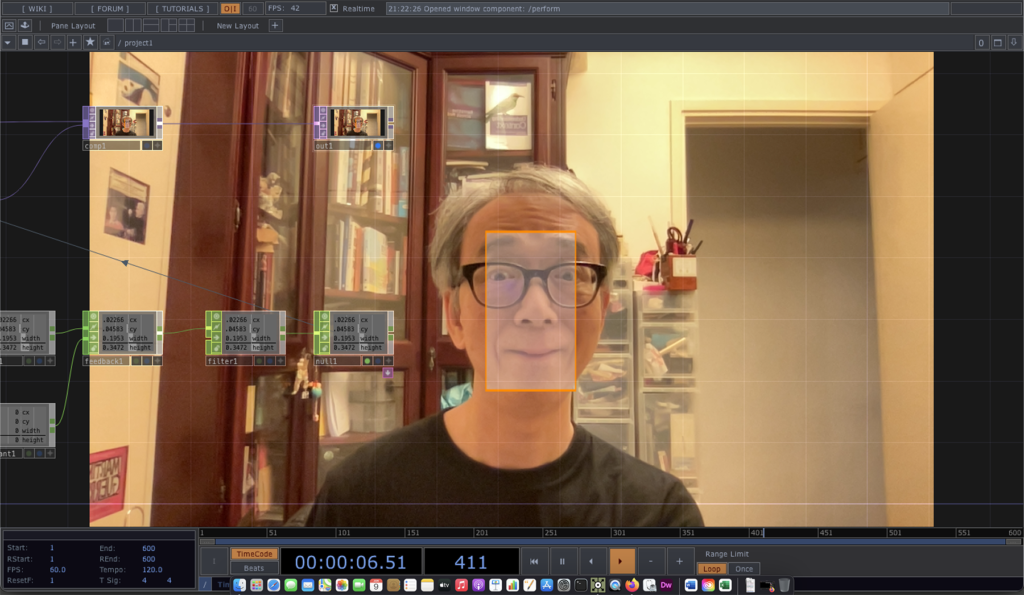
The main face detection capability is defined in the following statements.
import dlib

detector = dlib.get_frontal_face_detector()

rects = detector(image, 0)
The Script CHOP will generate the following channels
- cx (centre of the rectangle – horizontal)
- cy (centre of the rectangle – vertical)
- width
- height
for the largest face it detected from the live image.
The complete project is available in the FaceDetectionDlib1 GitHub folder.
MediaPipe in TouchDesigner 3
The last post demonstrated the use of the face detection function in MediaPipe with TouchDesigner. Nevertheless, it only produced an image with the detected results. It is not very useful if we want to manipulate the graphics according to the detected faces. In this example, we switch to the use of Script CHOP to output the detected face data in numeric form.
As mentioned in the last post, the MediaPipe face detection expects a vertically flipped image as compared with the TouchDesigner texture, this example will flip the image with a TouchDesigner TOP to make the Python code simpler. Instead of showing all the detected faces, the code just pick the largest face and output its bounding box and the position of the left and right eyes.
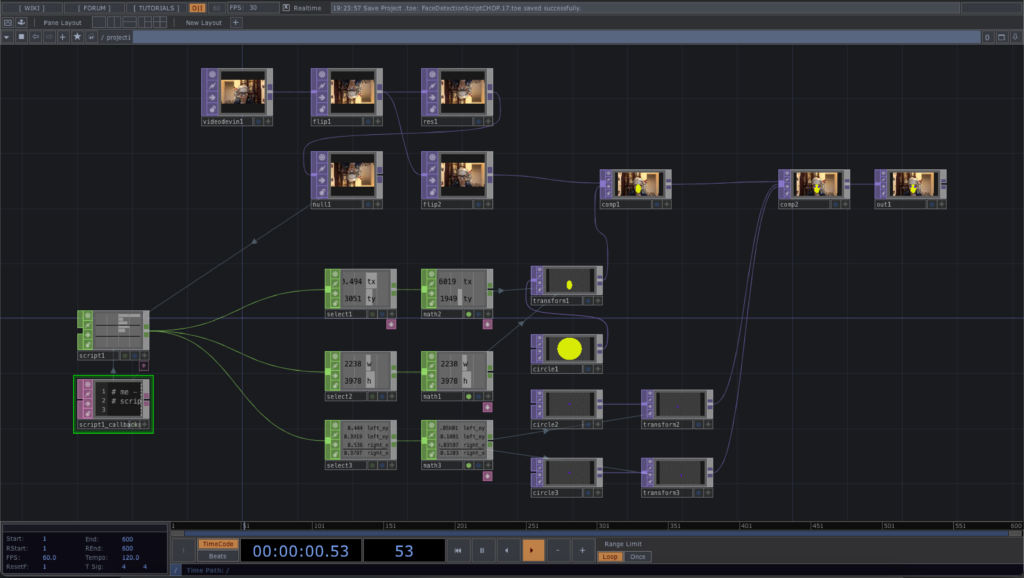
Since we are working on a Script CHOP, it is not possible to connect directly the flipped TOP to it. In this case, we use the onSetupParameters function to define the Face TOP input in the Custom tab.
def onSetupParameters(scriptOp):
     page = scriptOp.appendCustomPage('Custom')
     topPar = page.appendTOP('Face', label='Image with face')
     return
And in the onCook function, we use the following statement to retrieve the image from the TOP that we dragged into the Face parameter.
topRef = scriptOp.par.Face.eval()
After we found out the largest face from the image, we append a number channels to the Script CHOP such that the TouchDesigner project can use them for custom visualisation. The new channels are,
- face (number of faces detected)
- width, height (size of the bounding box)
- tx, ty (centre of the bounding box)
- left_eye_x, left_eye_y (position of the left eye)
- right_eye_x, right_eye_y (position of the right eye)
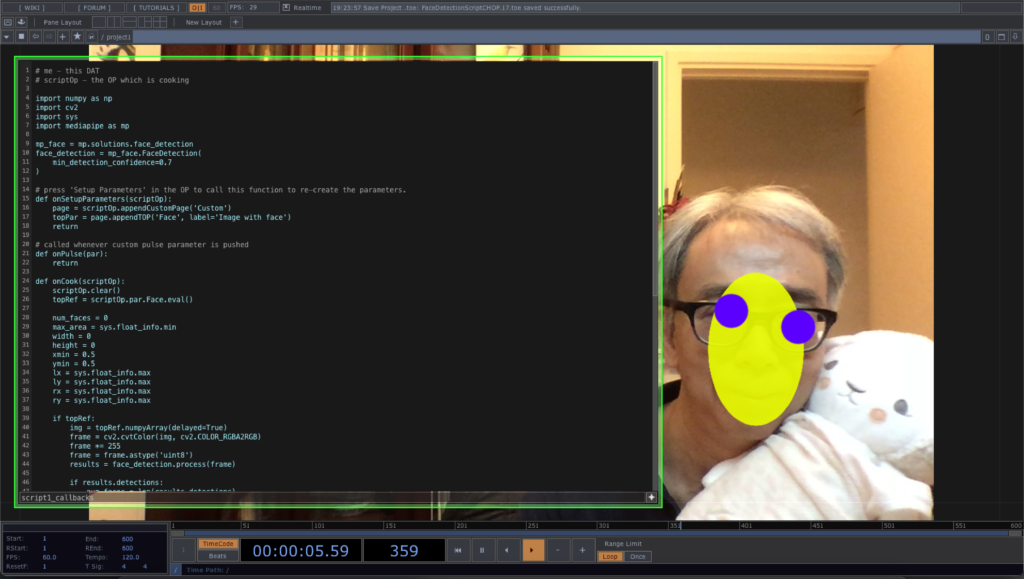
The complete project file can be downloaded from this GitHub repository.
Face swap example in OpenCV with Processing (v.1)
After the previous 4 exercises, we can start to work on with the OpenCV face swap example in Processing. With the two images, we first compute the face landmark for each of them. We then prepare the Delaunay triangulation for the 2nd image. Based on the triangles in the 2nd image, we find corresponding vertices in the 1st image. For each triangle pair, we perform the warp affine transform from the 1st image to the 2nd image. It will create the face swap effect.
Note the skin tone discrepancy in the 3rd image for the face swap.
Full source code is now available at the GitHub repository ml20180820a.
Face detection with the OpenCV Face module in Processing
This will be the series of tutorials to elaborate the OpenCV face swap example. The 1st one is a demonstration of the face detection of the Face module, instead of using the Object Detection module. The sample program will detect faces from 2 photos, using the Haar Cascades file, haarcascade_frontalface_default.xml, located in the data folder of the Processing sketch.
The major command is
Face.getFacesHAAR(im.getBGR(), faces, dataPath(faceFile)); |
where im.getBGR() is the photo Mat returned from the CVImage object, im, faces is a MatOfRect variable returning the rectangle of all faces detected, and faceFile is a string variable containing the file name of the Haar Cascades XML file.
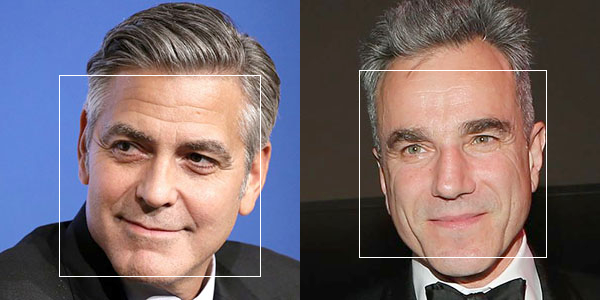
Complete source code is in the website GitHub repository, ml20180818a.
Face Tracker in OSX
This video is the test run of the Face Tracker code by Jason Saragih. I compile and run it in OSX 10.7 with OpenCV 2.3.
Since Xcode will build the product into the user’s Library folder, I have to put the face model information in the product folder. In OSX 10.7, the Library folder in hidden. I have to unhide it by
chflags nohidden ~/Library/
Face Detection in iPhone
It is one of the trial runs of Yoshimasa Niwa‘s OpenCV face detection program for iPhone. It runs on an iPhone 3GS with iOS 4.2.1.
