MediaPipe in TouchDesigner 2

Now we are ready to integrate the MediaPipe functions in TouchDesigner after we learnt the basic of the Script TOP. The first one we are going to do is the Face Detection. We just use the Script TOP to display the bounding boxes of the detected faces without sending the face details elsewhere for processing. In the next example after this, we shall send the bounding box details to a Script CHOP.
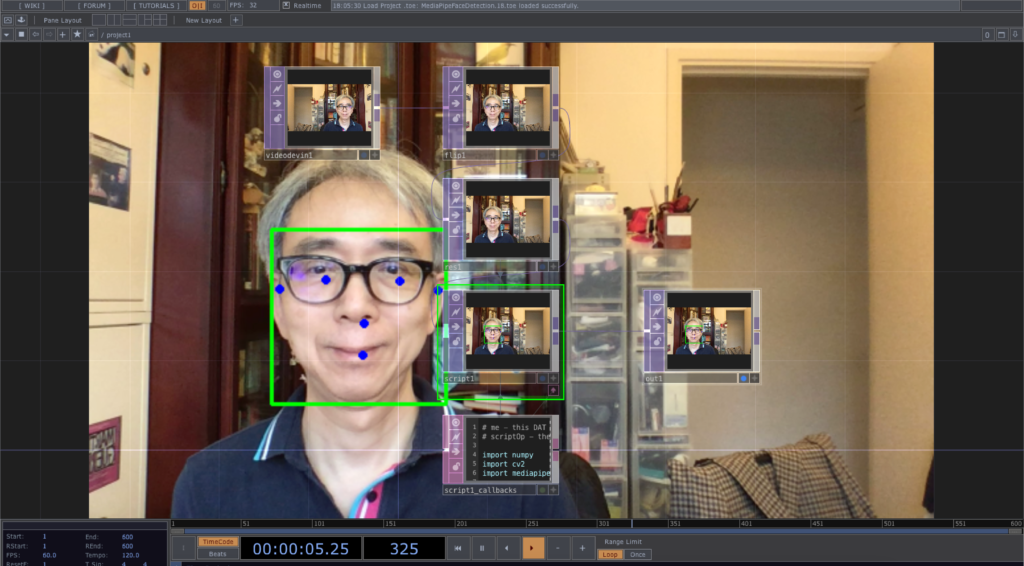
In order to have the mirror image effect, we use the Flip TOP with a horizontal flip. We also add a Resolution TOP to reduce the original 1280 x 720 to half, i.e. 640 x 360 for better performance. Of course, we can achieve the same result by changing the Output Resolution of the Flip TOP from its Common tab.
# me - this DAT
# scriptOp - the OP which is cooking
import numpy
import cv2
import mediapipe as mp

mp_face = mp.solutions.face_detection
mp_drawing = mp.solutions.drawing_utils

face = mp_face.FaceDetection(
     min_detection_confidence=0.7
 )

# press 'Setup Parameters' in the OP to call this function to re-create the parameters.
def onSetupParameters(scriptOp):
    return
# called whenever custom pulse parameter is pushed
def onPulse(par):
    return

def onCook(scriptOp):
    input = scriptOp.inputs[0].numpyArray(delayed=True)
    if input is not None:
        frame = cv2.cvtColor(input, cv2.COLOR_RGBA2RGB)
        frame = cv2.flip(frame, 0)
        frame *= 255
        frame = frame.astype('uint8')
        results = face.process(frame)
        if results.detections:
            for detection in results.detections:
                mp_drawing.draw_detection(frame, detection)

        frame = cv2.flip(frame, 0)
        scriptOp.copyNumpyArray(frame)
    return

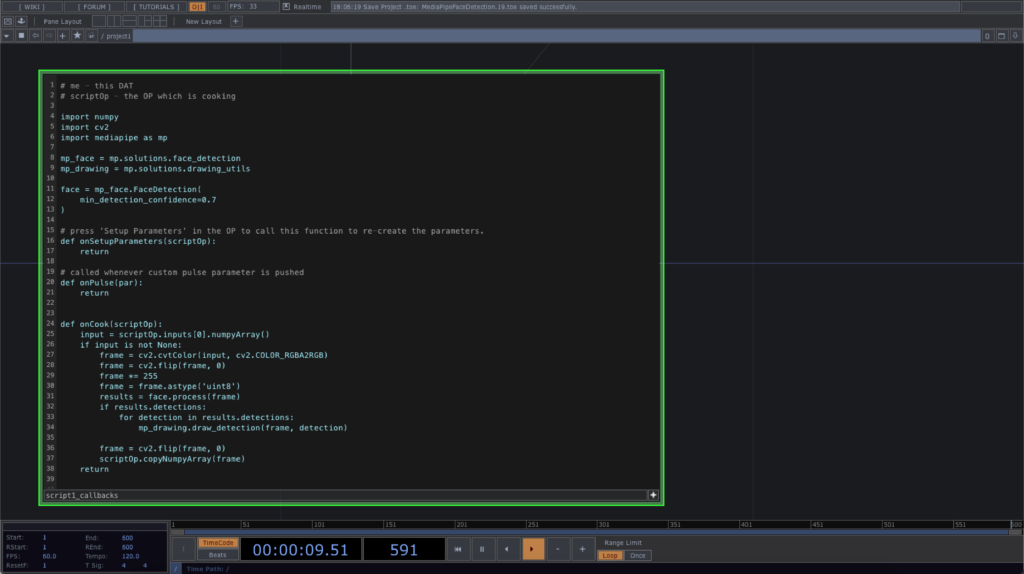
In the first place, we need to import MediaPipe into the Python code. The next step is to define a few variables to work with the face detection, mp_face and visualisation of the detected face, mp_drawing, and finally the face detection class instance, face, with the detection confidence value.

To process the video, we also convert the RGBA frame into RGB only. It is found that the image format MediaPipe face detection expected is vertically flipped as compared with the TouchDesigner TOP. In the Python code, we first flip the image vertically before sending it to the face detection with face.process(frame). After the mp_drawing utility draws the detection results onto the frame, we also flip the image vertically again for output to the Script TOP. The object, results.detections contains all the details of the detected faces. Each face will be visualised with a bounding box and 6 dots indicating the two ears, eyes, nose tip and the mouth centre.

The TouchDesigner project file is in this GitHub repository.
MediaPipe in TouchDesigner 1

It is the part 1 of the tutorials introducing the use of the Google MediaPipe machine learning library in TouchDesigner. It will assume basic knowledge of TouchDesigner and fundamental coding skill in Python. The platform I am working on is a MacBook Pro running the OSX 11. TouchDesigner has its integrated Python programming environment. At the moment of writing, the Python version is 3.7. It also comes with a number of pre-installed external libraries, such as NumPy and OpenCV.

The first installation will be the Python programming language environment. I would recommend installing the official 3.7 version from the Python download website. Expand the dmg file and run the installer to install the proper Python version to the computer.

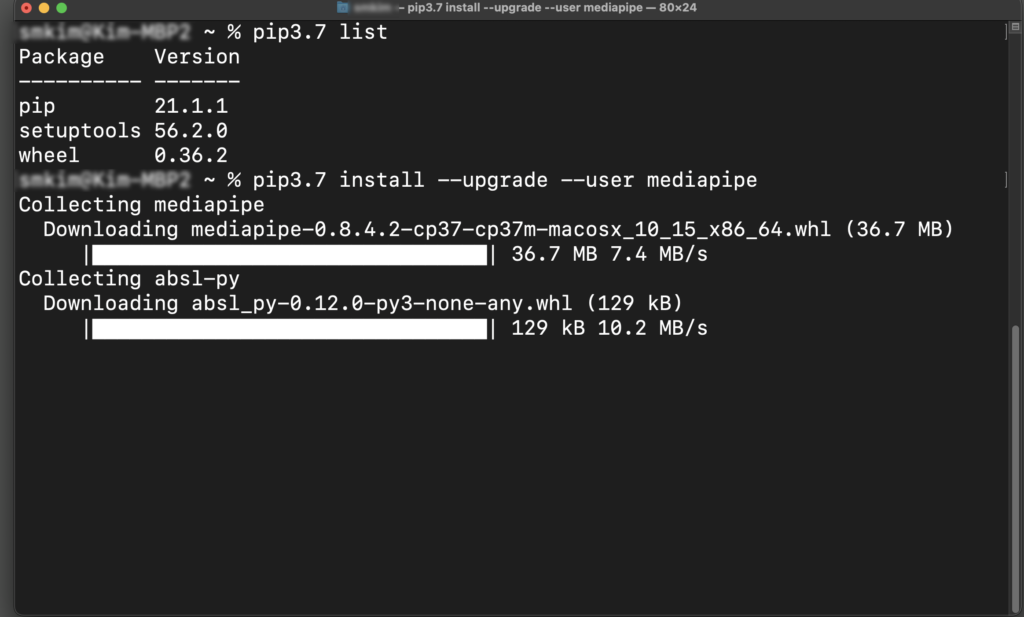
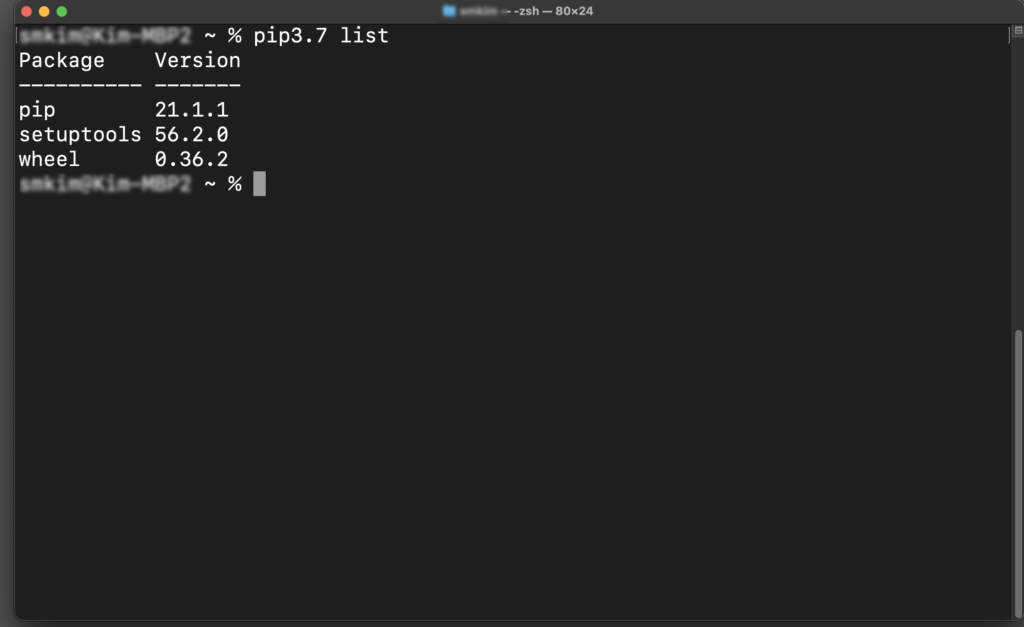
After we have the Python installed, the next step will be external libraries we would like to use in the Python environment. The target one is MediaPipe. We are going to use the pip command from the OSX Terminal. For general usage of the OSX Terminal, we can refer to the Terminal User Guide from Apple. For those who may have multiple Python versions installed, we can use the specific command pip3.7 to install the external libraries to make sure they are compatible with the TouchDesigner. For a brand new Python environment, the libraries it come with are:

  • pip
  • setuptools
  • wheel
pip list command

Pip is one of the package management system we can use in the Python environment. To install extra library such as the MediaPipe, we can type the following from the Terminal.

pip3.7 install --upgrade --user mediapipe
Install MediaPipe with pip

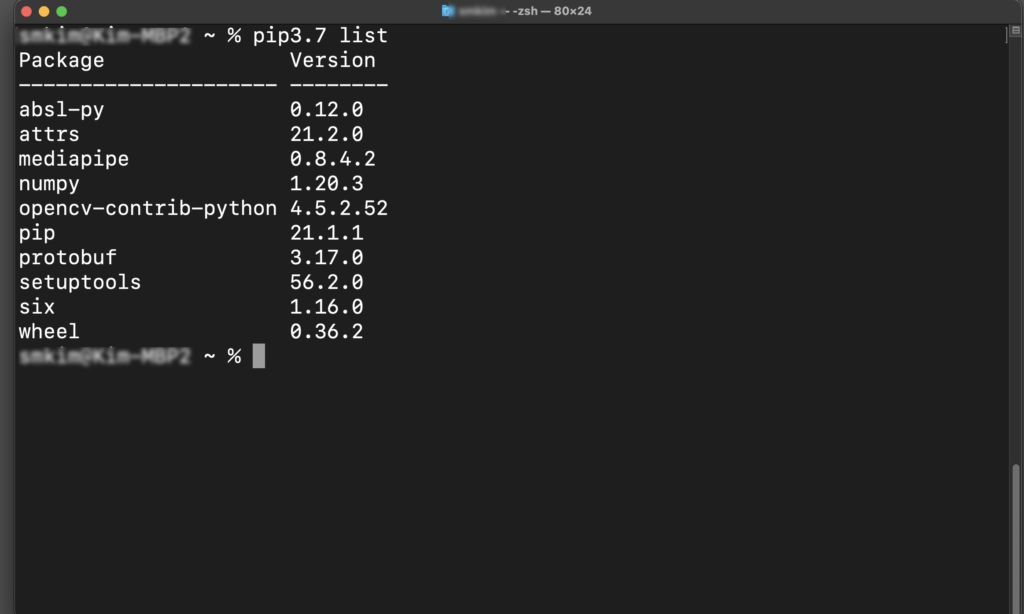
The following screenshot listed all the libraries we have after the installation.

The list of libraries after installing MediaPipe

After we ready the Python and the MediaPipe library, we can go back to TouchDesigner to enable it to link to the external libraries that we have installed outside it.

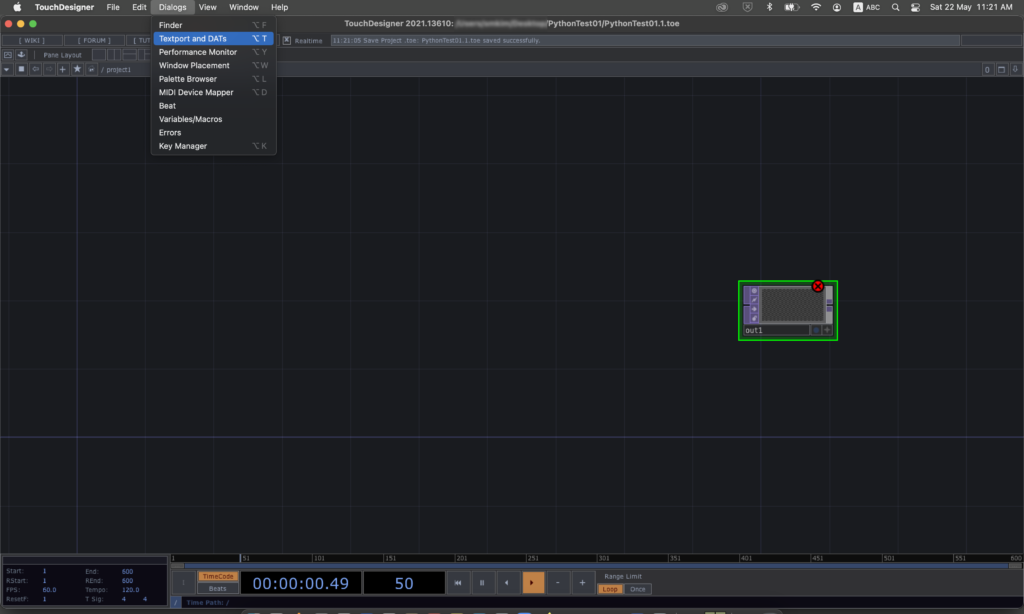
From the TouchDesigner pull down menu, choose Dialogs – Textport and DATs.

Textport and DATs

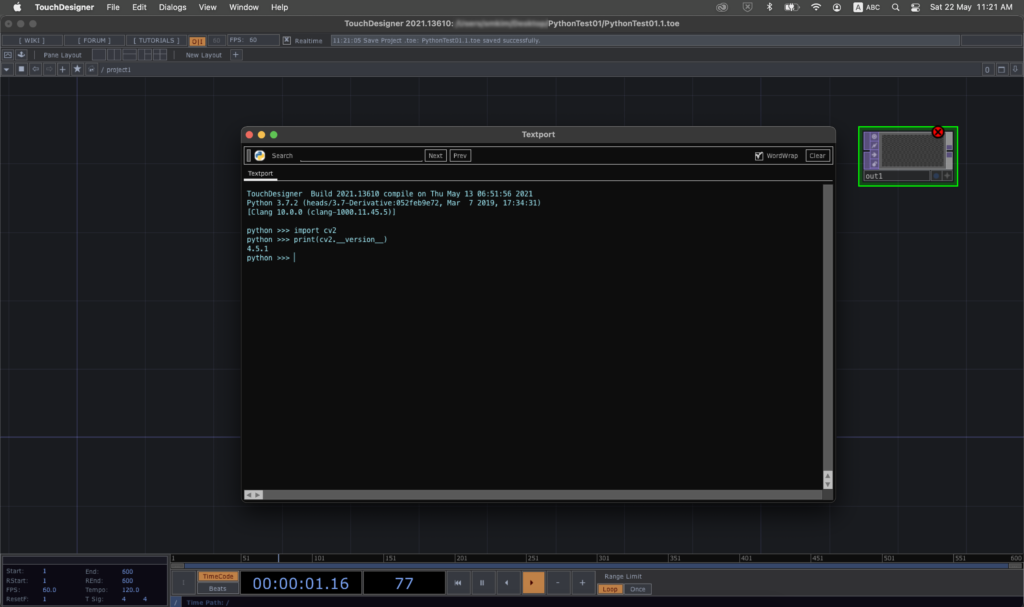
Inside the Textport, we can try to import OpenCV and list its current version.

OpenCV

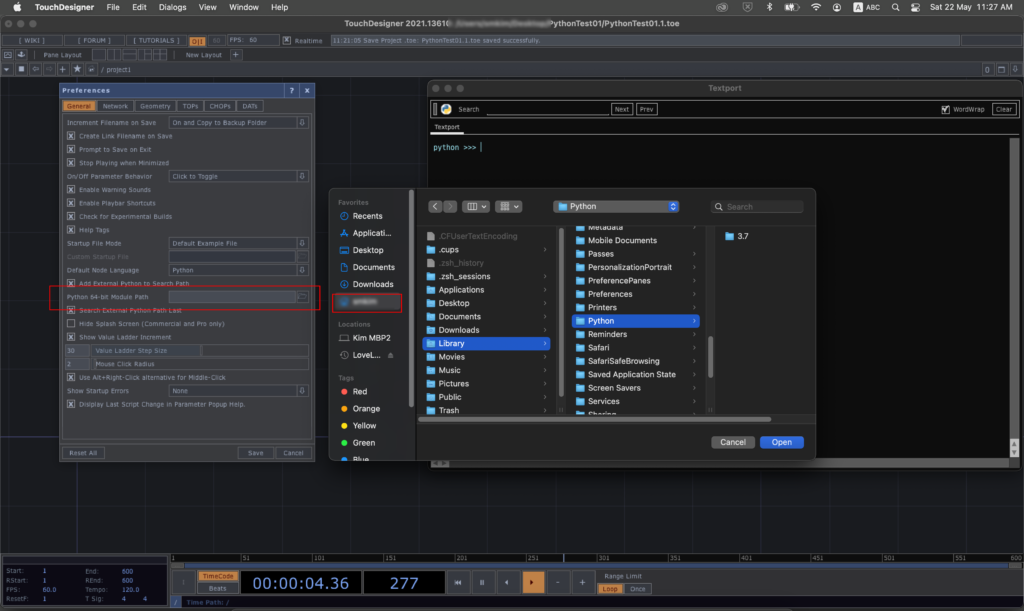
The next step is to customise the external libraries location from the Preferences menu. From the pull down menu, choose TouchDesigner – Preferences – General.

Preferences

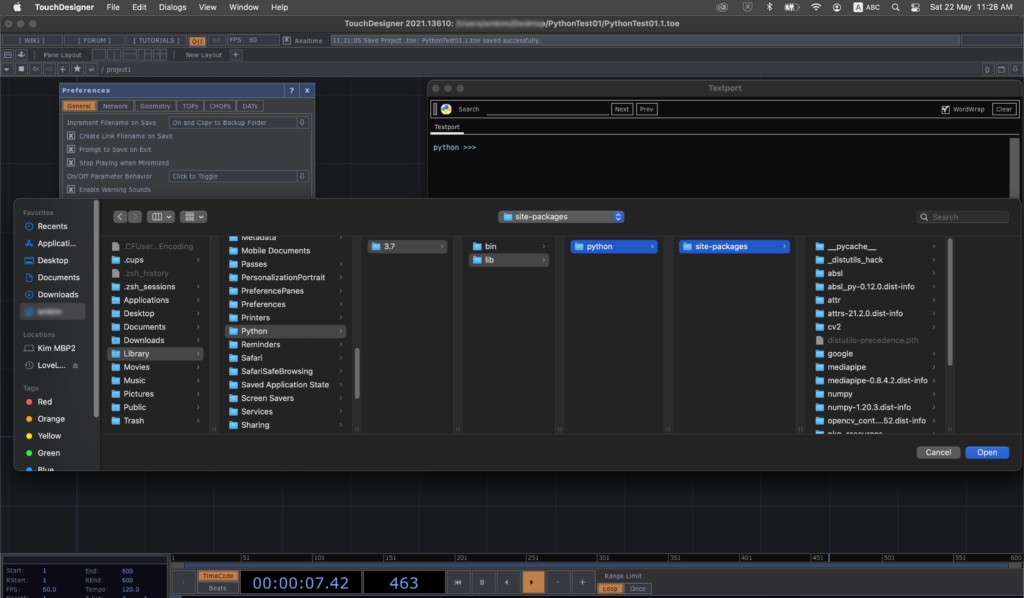
Click the folder icon from the description, Python 64-bit Module Path. It will open up the file location dialog panel. Choose the home directory of your current user account. Since the Python libraries are installed inside the hidden Library folder, we need to type CMD SHIFT <period> to display all the hidden folders. Press the CMD, SHIFT and period “.” keys together. Choose the correct folder location as

Library/Python/3.7/lib/python/site-packages

and click Open.

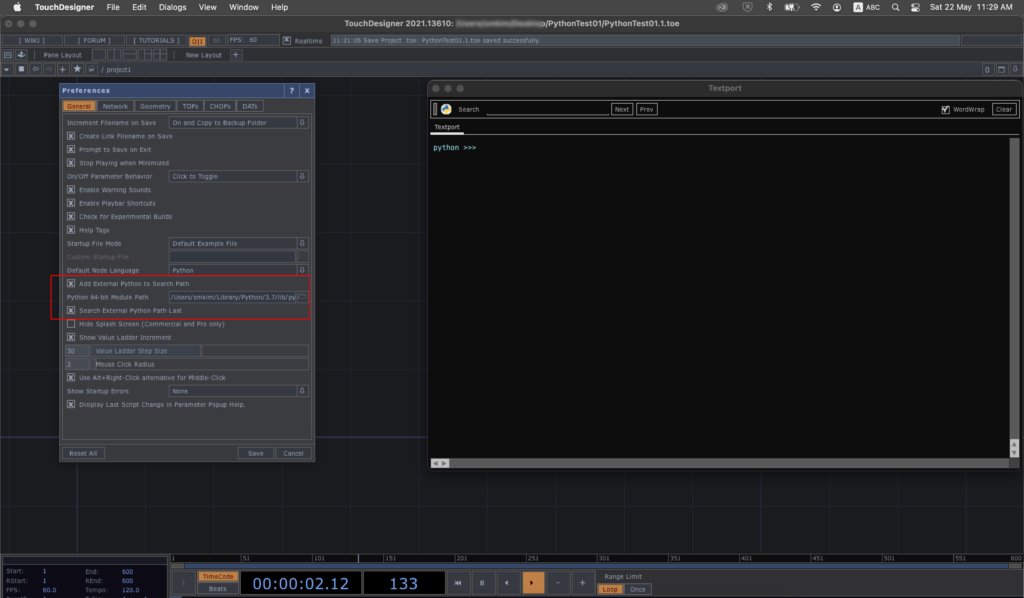
External modules folder

Click the Save button for the Preferences panel.

Save the Preferences

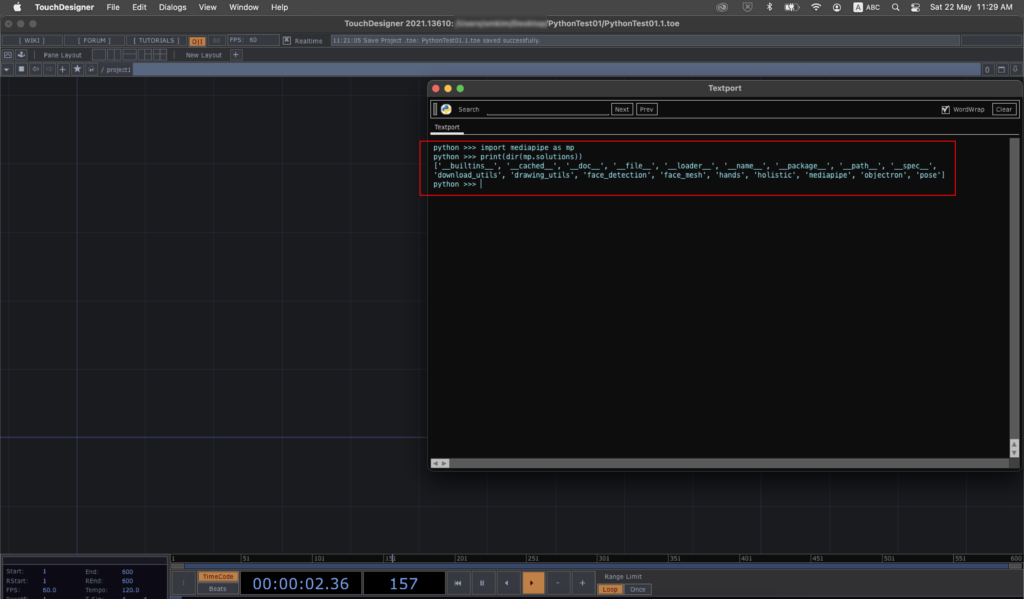
After we save the preferences, we can verify the installation of MediaPipe from the Textport panel by importing the mediapipe module and list out some of its components.

import mediapipe as mp
print(dir(mp.solutions))
Verify the MediaPipe installation

We are now ready to play with the MediaPipe library in TouchDesigner. The first one will be the face detection facility in a Script TOP.